
If you are like me, you probably have tons of crayons all over your house. Lots of broken pieces too. This is a great project for the older kids. The young one would enjoy it too but I recommend lots of adult help/supervision.
Here is what you need to get started:
- Crayons (old or new)
- Wax Paper
- Thick craft paper or newspaper
- Iron (use on low setting)
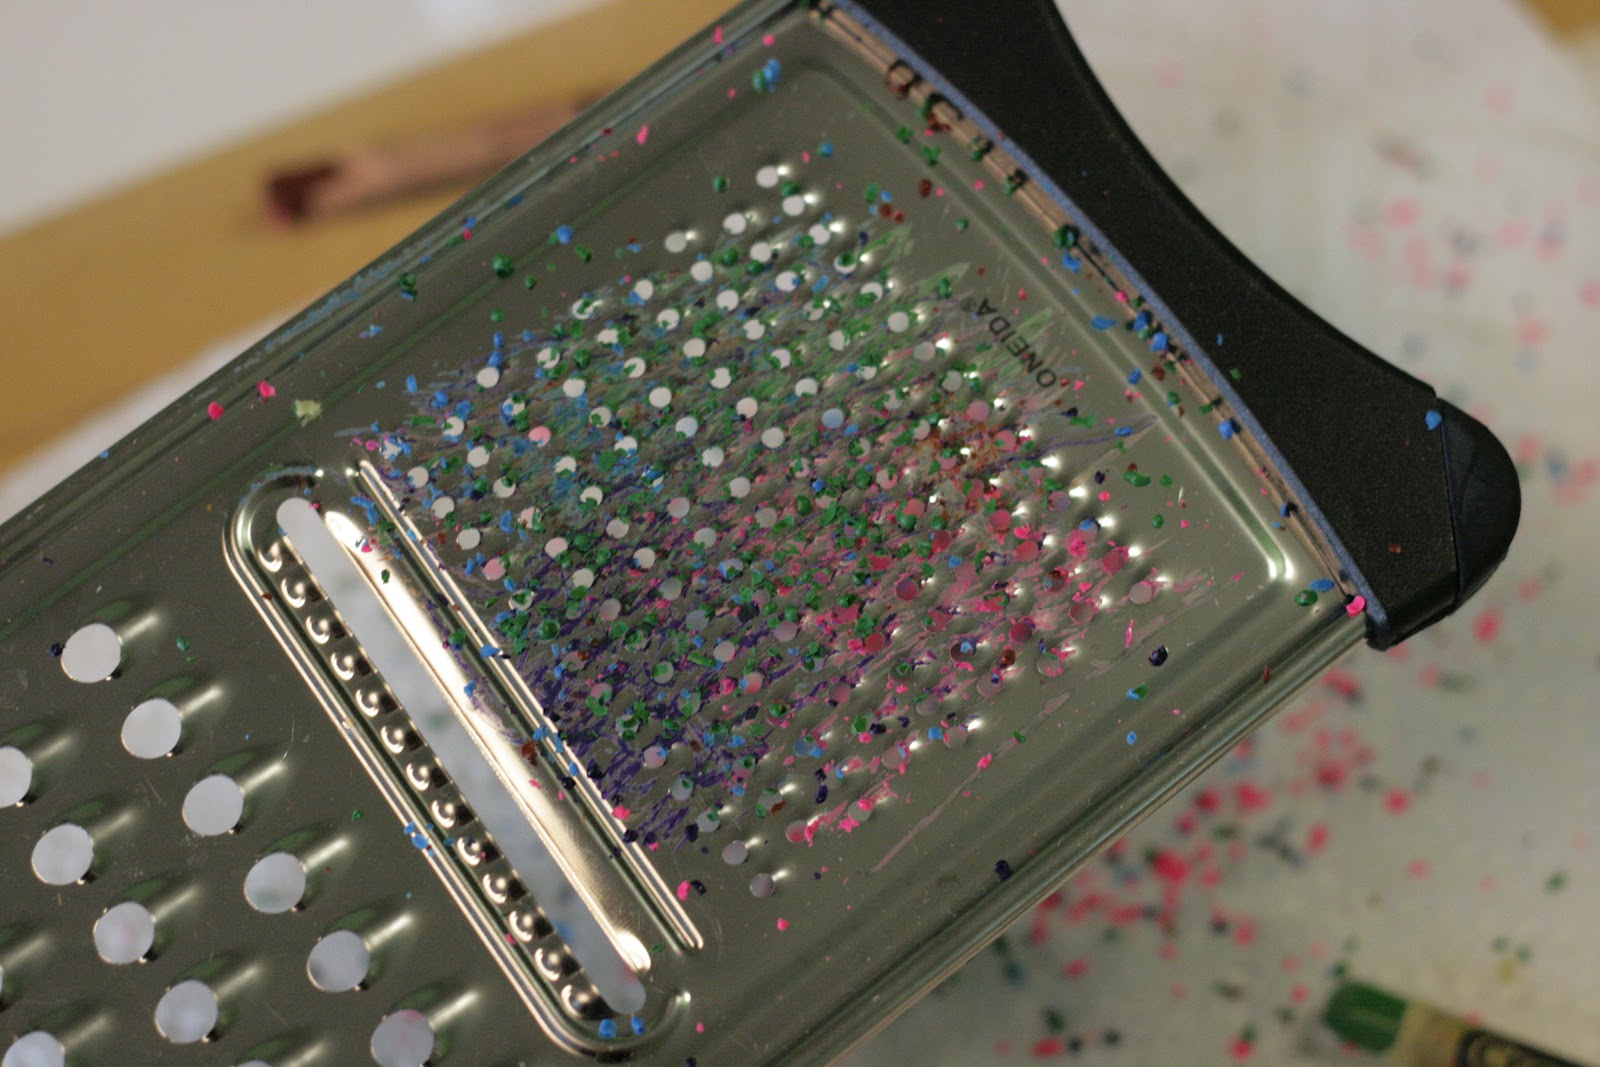
- Cheese grater
Step 1:
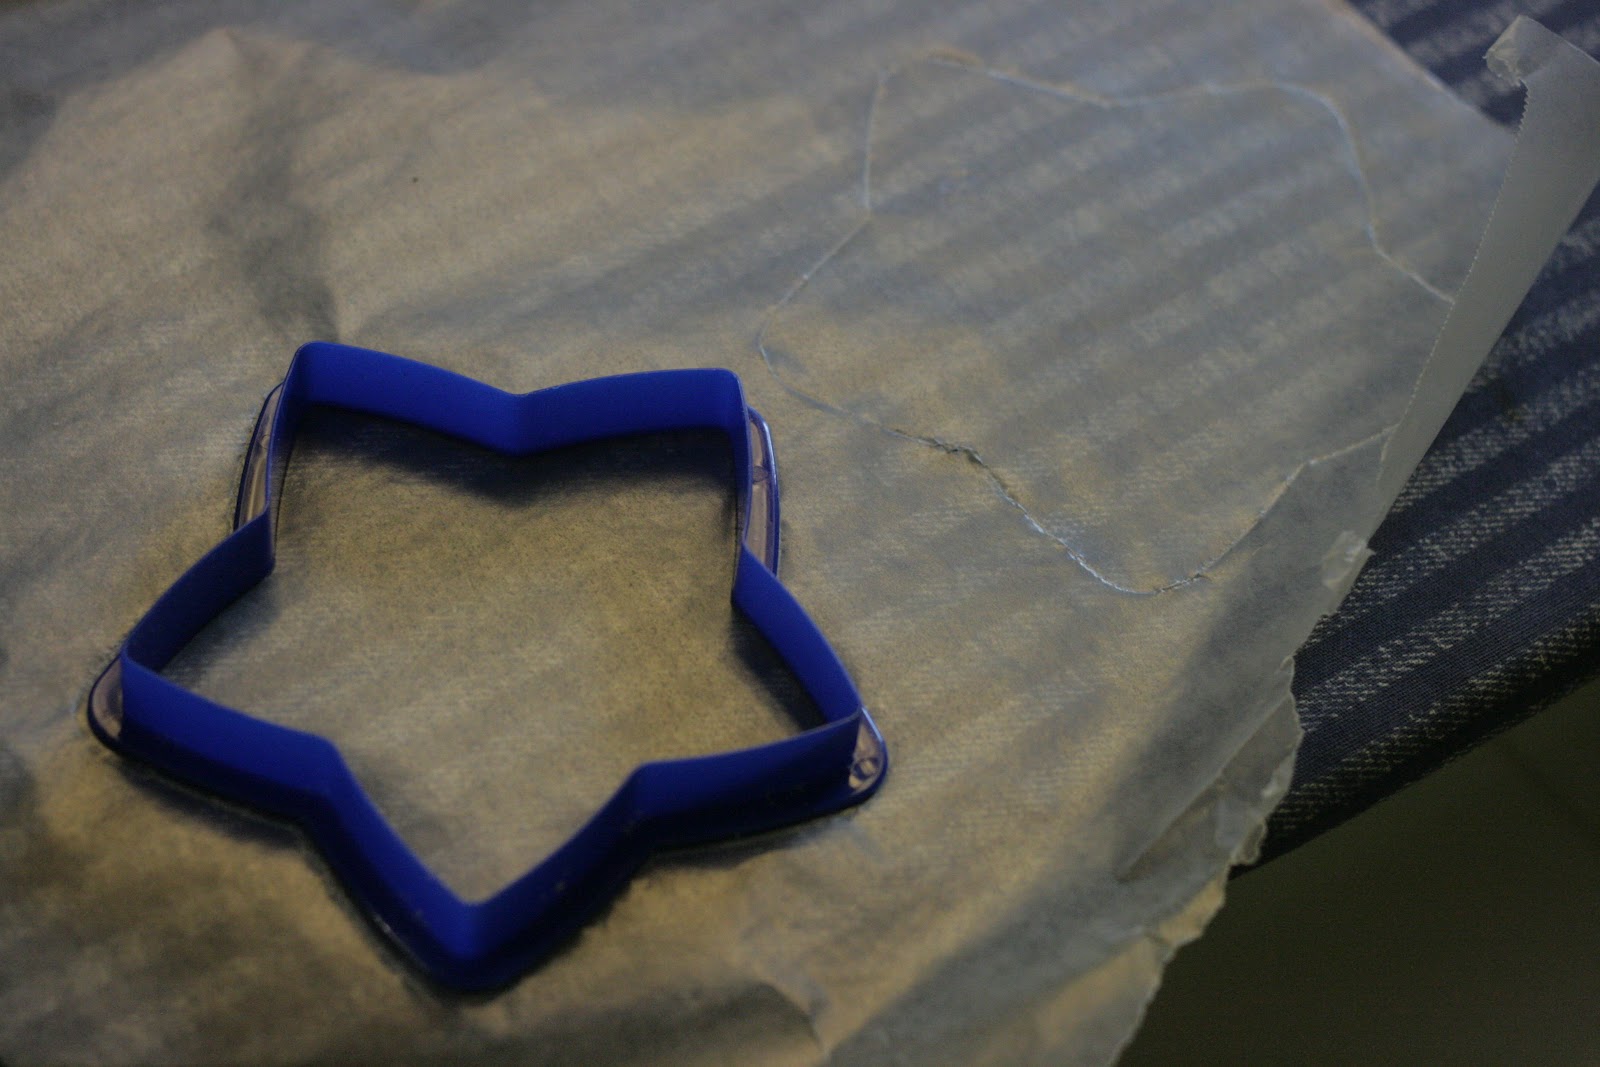
Lay out your wax paper. The first time, we traced and cut out the shapes BEFORE adding the crayon shavings. We found it easier to just shave the crayons onto a large sheet of wax paper, melt and cut out the shape later.

Step 2:
Shave your crayons on to one of the pieces of wax paper.


Step 3:
Place the second piece of wax paper on top of the first piece and the crayon shavings. Place your thick craft paper or newspaper on top of this and IRON. You just need a few quick passes to melt it. It happens super quick. You want to make sure they are melted enough to hold the two pieces together. The more they melt, the more the colors will mix so be careful not to over heat it.


Step 4:
Cut the shape that you want out of the wax paper and hang up :-)


This was a lot of fun. I recommend laying a mat down on the table for easier clean up though. We have a tile top table and I spent more time getting crayon bits out of the cracks then we did on the actual project. Next time I will be smarter...LOL
ENJOY!
No comments:
Post a Comment