Monday, July 9, 2012

Crayon bits sun cathcers

If you are like me, you probably have tons of crayons all over your house.  Lots of broken pieces too.  This is a great project for the older kids.  The young one would enjoy it too but I recommend lots of adult help/supervision.  

Here is what you need to get started:
- Crayons (old or new)
- Wax Paper
- Thick craft paper or newspaper
- Iron (use on low setting)
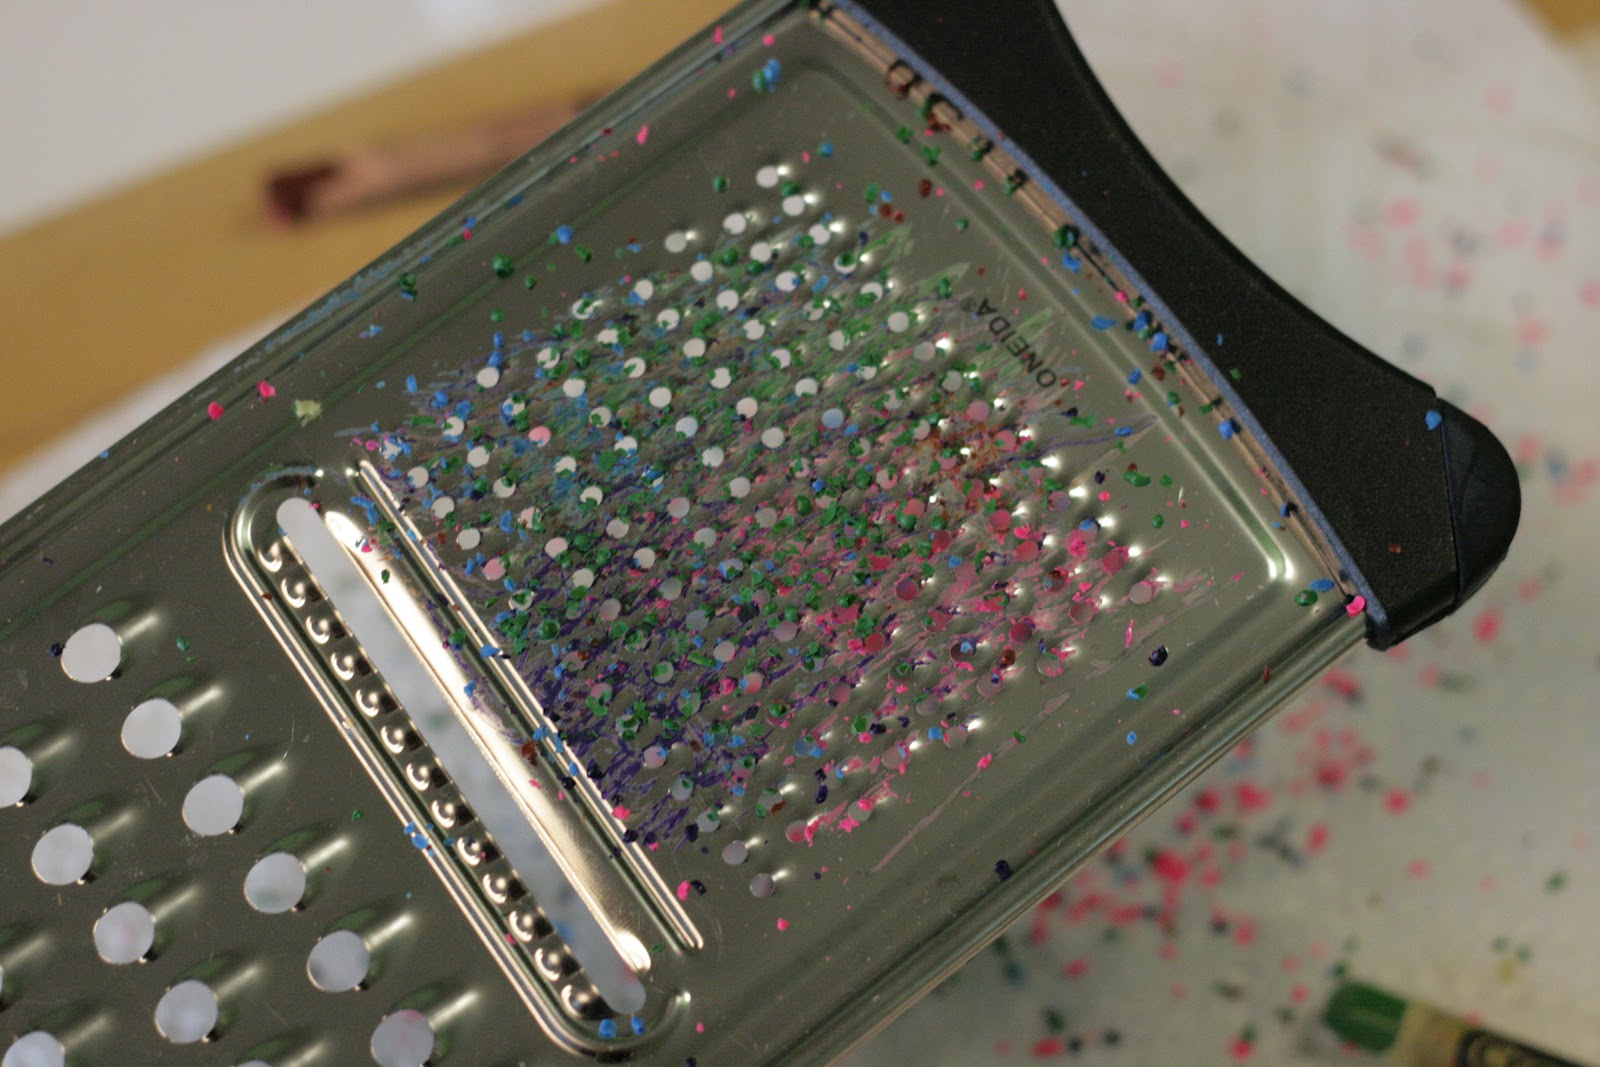
- Cheese grater

Step 1: 
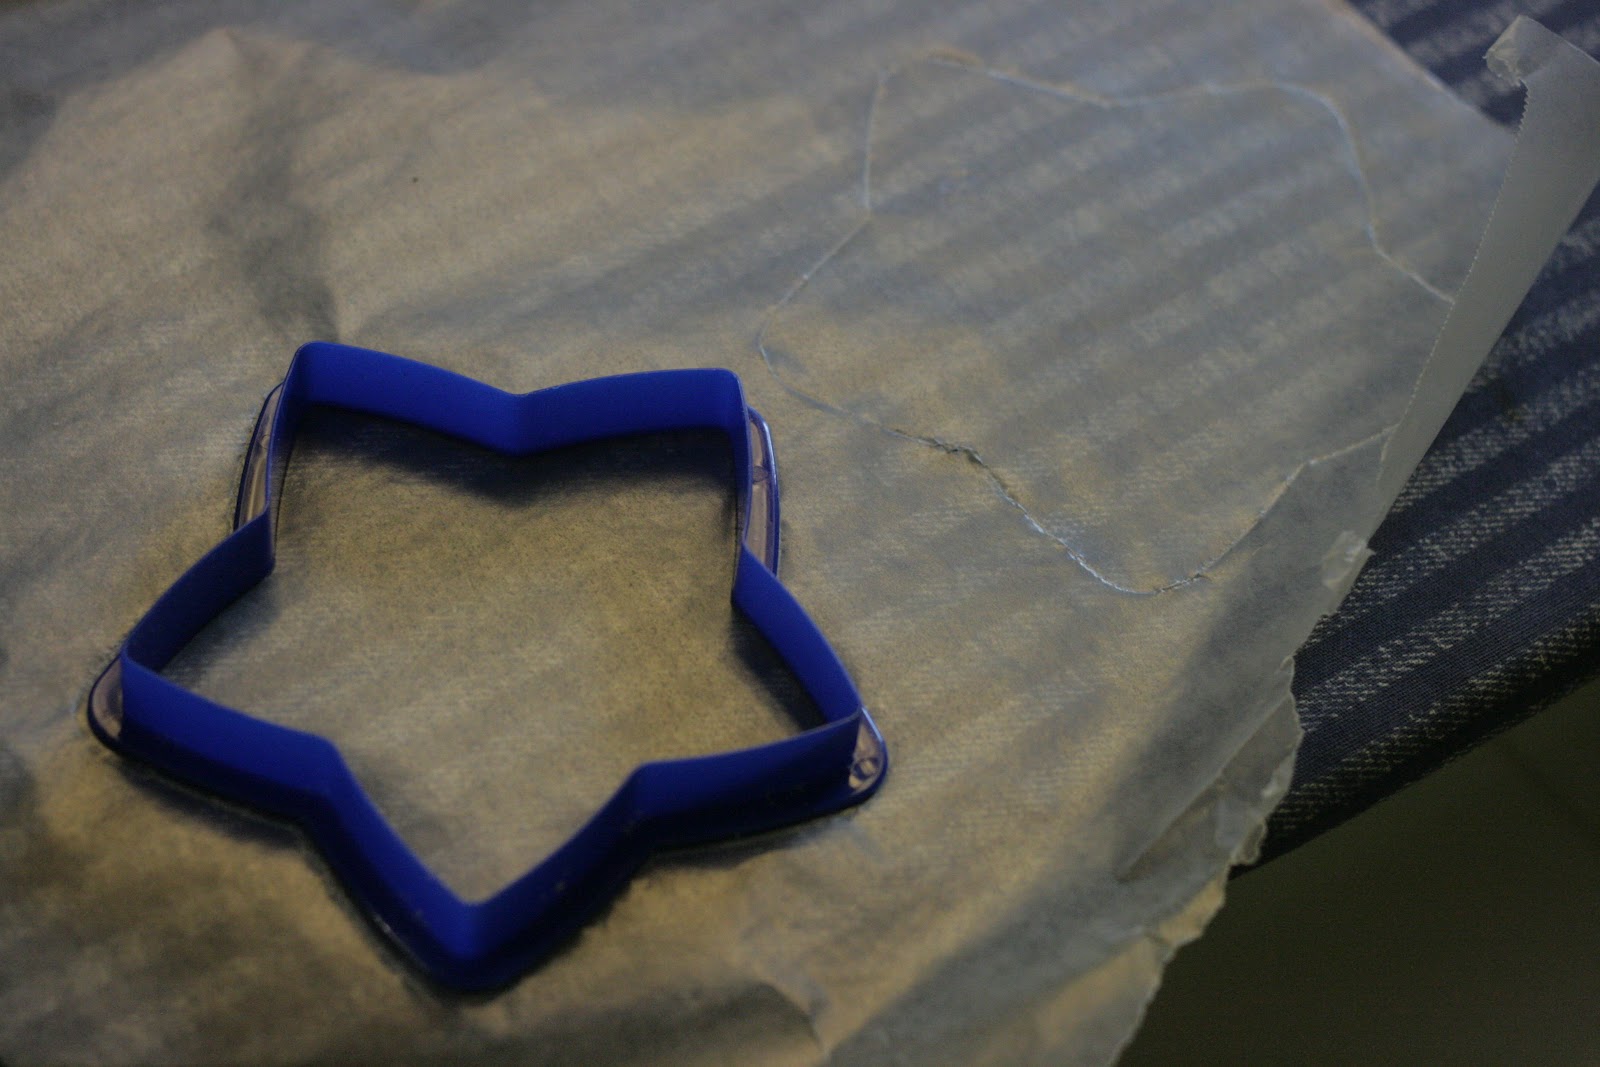
Lay out your wax paper.  The first time, we traced and cut out the shapes BEFORE adding the crayon shavings.  We found it easier to just shave the crayons onto a large sheet of wax paper, melt and cut out the shape later.  

Step 2:
Shave your crayons on to one of the pieces of wax paper.


Step 3:
Place the second piece of wax paper on top of the first piece and the crayon shavings.  Place your thick  craft paper or newspaper on top of this and IRON.  You just need a few quick passes to melt it.  It happens super quick.  You want to make sure they are melted enough to hold the two pieces together.  The more they melt, the more the colors will mix so be careful not to over heat it.  


Step 4:
Cut the shape that you want out of the wax paper and hang up :-)


This was a lot of fun.  I recommend laying a mat down on the table for easier clean up though.  We have a tile top table and I spent more time getting crayon bits out of the cracks then we did on the actual project.  Next time I will be smarter...LOL  

ENJOY!

Sunday, July 8, 2012

Melting Pony Beads

Have tons of plastic beads laying around and not sure what to do with them?  MELT THEM!  

If you are a mom of a little girl you probably already have tons of plastic beads laying around.

If you don't already have a stash of pony beads (or other plastic beads) laying around, no worries....they are easily found at all craft stores, even Walmart :-)

Here are the ones I purchased at Michaels.  They are 1lb containers for $5.99.  You can find these in smaller containers or in big bags as well. 


You can make many things by melting pony beads, here are a few ideas:

- bowls
- coasters
- placemats 
- center pieces
- sun catchers

Here is what you need to get started:

- Non stick pans
- Plastic beads
- Oven (preheat to 400 degrees)
- Good ventilation (it STINKS!)  

Step ONE:
Start arranging your beads in your pan.

You can do this anyway you want.  Make a design, random or even just dump them in all messy.  Just make sure you keep them as a SINGLE layer in the pan.
STEP 2:
All done, ready for the oven.
Put them in the oven.  Temp should be preheated at 400 degrees.  They will need to stay in for 20-30 minutes.  I set the timer for 20 minutes and then kept a close eye on them until they looked ready (all melted and nice and smooth).  You could also do this in a toaster oven set outside.
 Step 3:
Take it out of the oven and let it cool off.  It actually cooled off really quickly. 

Once it cools, it just pops right out. 
At this point you can do anything you want with it.  It would make a great center piece, cookie platter, decorative plate etc.  You could also put it back in the oven sitting on top of a rounded (oven safe) cup or bowl (upside down).  The heat will melt this down around the shape of the bowl and you will have a bead bowl :-)  This would make an amazing large sun catcher if you used some clear beads in there. 

We wanted to make a few smaller sun catchers.  So we used a muffin tin and some of the clear/colored pony beads.  


A few have asked about the edges.  NO, there is nothing added to the edges.  That is just how they look once melted :-)  VERY COOL, I think!


Now, if you want to hang them, you can just drill a small hole near one edge.  Get some thin floral wire (or any kind of string or wire will work) and some little suction cups....ta da, you have made a beautiful sun catcher.

Friday, May 25, 2012

New Patterns

Well, as most of you know, I mostly run my business using patterns I have purchased from other designers.  Along the way though, I have created/designed a few small items.  Nothing major but I am still proud of them all.  I working my way through writing them all up so I can start offering a few of my patterns for sale. 

Don't worry, I am still going to be a pattern stalker of all the wonderful designers out there and do a happy dance everytime a new pattern is released   LOL

To get started, I have shared my football and basketball appliques on my blog for FREE...ENJOY


Have you seen my Covered jars? 

These were so fun to make and are perfect teacher gifts!

 A few ways to use them (as shown) are crochet hook/knitting needle holder, pencil holder, q-tip holder, candle holder or vase. 

This pattern is out to testers now and I am hoping to be able to offer this to you as my first crochet pattern very soon.  :-) 


Don't know how to crochet?  Don't worry you can still buy all of my products from me at www.melscrochetedcreations.com  I'd love to create something special for you.

FREE: Basketball applique pattern


I hope you enjoy this free pattern. 

The pattern and the picture is copy right protected. Please do not use the photo or redistribute the pattern in anyway. You are free to sell anything you make using this pattern. I would appreciate you give me credit for the pattern (www.melscrochetedcreations.com)
Thank you!

Materials:
- WW yarn (orange and black)
- G/4mm crochet hook

Note:  It is easy to adjust the size of this applique.  Simply change your hook size or add more increasing rounds.

Pattern:

-  Start with a magic ring
-  Do not join each round, use a stitch marker.

Rnd 1: 6 sc into the ring, pull closed to tighten ring (6 sc)
Rnd 2: 2 sc in each sc around, (12 sc)
Rnd 3: sc in the first sc, 2sc in next sc (sc in next sc, 2 sc in next)*repeat around (18 sc)
Rnd 4: sc in each of the next 2 sc, 2 sc in the next sc *repeat around (24 sc)
Rnd 5: sc in each of the next 3 sc, 2 sc in the next sc *repeat around (30 sc)
Rnd 6: sc in each of the next 4 sc, 2 sc in the next sc *repeat around (36 sc)
Rnd 7: (Work this rnd slightly looser then previous rounds so you don't make the edge curl up)  sc in each sc around (36 sc)
Finishing:
-  FO and weave in ends
-  using picture as a guide, slip stitch the stripes onto your basketball 


FREE: Football Applique pattern


This is a fun and simple pattern.  I hope you enjoy it. 

The pattern and the picture is copy right protected.  Please do not use the photo or redistribute the pattern in anyway.  You are free to sell anything you make using this pattern.  I would appreciate you give me credit for the pattern (www.melscrochetedcreations.com)
Thank you!

Sizes: Small and Large
Materials needed:
- I/5.5mm hook (for large applique)
- G/4mm hook (for small applique)
- WW yarn (brown and white)

Large Applique (this is great for use on hats)
- use I hook and WW yarn
- Start with a Ch 2

Row 1: sc in 2nd ch from hook, ch 1, turn (1 sc)
Row 2: 2 sc in next sc, ch 1, turn (2 sc)
Row 3: 2 sc in each sc, ch 1, turn (4 sc)
Row 4: 2 sc in first sc, sc in each of the next 2 sc, 2 sc in the last sc, ch 1, turn (6 sc)
Row 5: 2 sc in first sc, sc in each of the next 4 sc, 2 sc in the last sc, ch 1, turn (8 sc)
Row 6-16: sc in each sc across, ch 1, turn (8 sc)
Row 17: sc dec over next 2 sc, sc in each of the next 4 sc, sc dec over last 2 sc, ch 1, turn (6 sc)
Row 18: sc dec over next 2 sc, sc in next 2 sc, sc dec over last 2 sc, ch 1, turn (4 sc)
Row 19: sc dec over next 2 sc (twice), ch 1, turn (2 sc)
Row 20: sc dec over next 2 sc, ch 1, turn (1 sc)

Edging:
-  2 sc in the first sc (tip), sc evenly to the next tip, 3 sc in tip, sc evenly back to the first tip, 1 more sc in the tip, join FO
Finishing:
-  Using the photo as a guide, slipstitch the white strips onto each end
-  Using the photo as a guide, stitch the laces onto the center of the applique

Small Applique (this is a great size to use on hair clips)

-  Use G/4mm hook and WW yarn
-  Start with a ch 2
Rows 1-10: Same as large applique
Row 11 - 14: Same as rows 17-20 of large applique

Edging and Finishing:  SAME as large applique

Monday, April 23, 2012

Photo of the day and more....

Photo of the Day
Our two cavy friends....Max and Lou Ellen. 

 
   We have had Max for almost a year now.  These little hats all started when we entered him in a costume contest at the Guinea Pig Pet Expo.  I made him this cute little Crocodile Costume.  

He won 2nd place :-)

I had been wanting to make more hats or accessories for him and finally did.  I came up with this cute little bomber hat.  


We applied for adoption through a rescue organization back in January.  Our opportunity finally came up yesterday.  So knowing that we were going to be bringing home a new little girl, I had to make Max a new "fancy" hat.  Here he is in his new top hat.  

 Seriously, he couldn't be any cuter.  Might just be the BEST guinea pig EVER!!!
  
 
Introducing the new happy couple....Max and Lou Ellen 


How sweet is she!?  Love her little mouth in this picture. 


 Lovely Lady


Sunday, April 1, 2012

Showing some Two Kazoos LOVE :-)

One of my favorite applique shops also makes my favorite magnets.  I went a little over board ordering new magnets the other day.  I just couldn't help myself and kept adding to my order!  Not only are they cute but they are strong and hold better then ANY other magnet I own.

Stop by and check her out...she makes amazing stuff!!!!!  
 Find her on Facebook: HERE

Shapes

Flower for Gloria, Dinosaur for Landon, Skull for Logan

Full Alphabet set

Extra letters to spell out their names :-)

My freebies.  I have received one with each order.  THANK YOU!

I set up their names and little magnets to hold their chore/reward charts.  They LOVE IT!